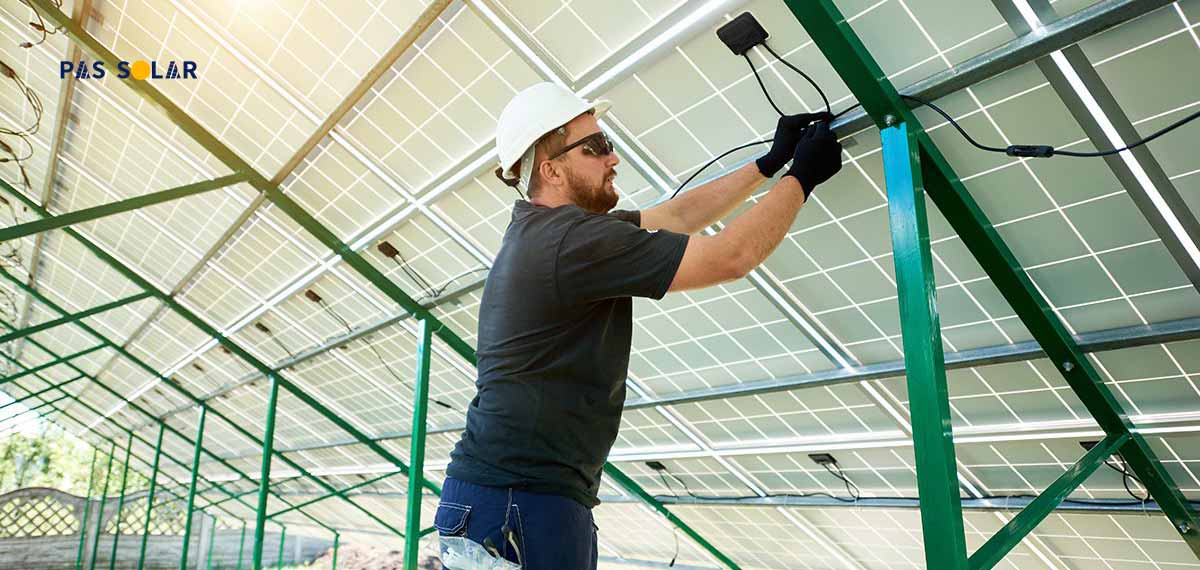
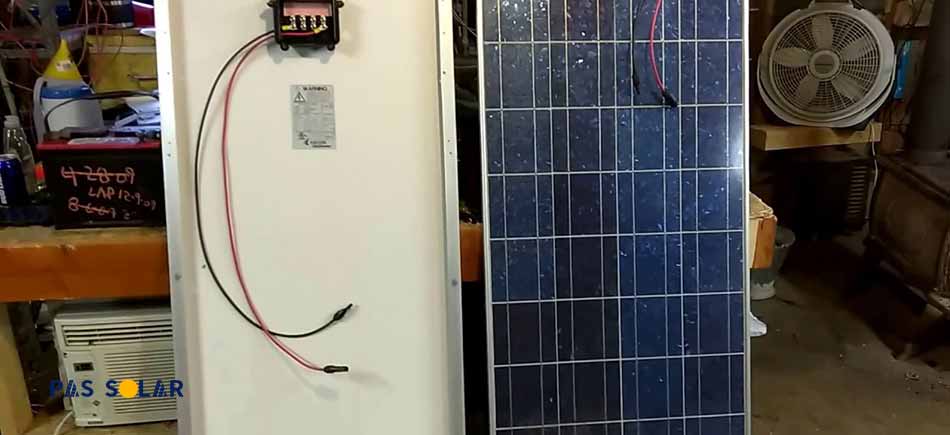
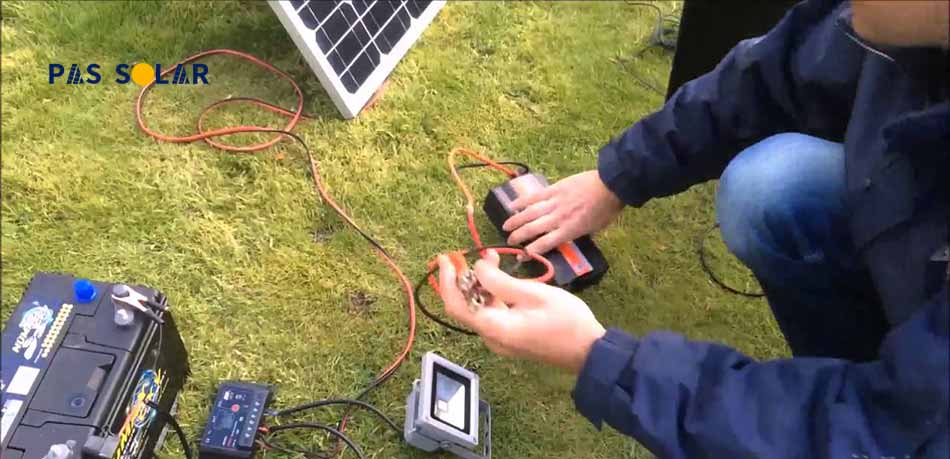
Larger solar panel in dubai that are designed to be connected in an array need a standardized termination that can handle higher power levels. The MC4 connector perfectly fits the need, but you need to know how to connect solar cables. Most larger solar panels rated over 50 watts already come with MC4 connectors.
The term MC4 stands for Multi-Contact 4 mm and is the typical connector in the solar energy industry. It is a round plastic housing with a single conductor in a male/female paired configuration, developed by Multi-Contact Corporation.
Have you considered manufacturing your MC4 solar cables? Let me show you how easy it is, but before you learn that, you need to know how to connect solar wires. In this article, I will guide you step by step to make a professional MC4 solar PV cable finally.
9 steps of connecting solar cables
1 – Tools and Materials Needed
Required tools:
- Wire Stripper
- Crimp Tool
- MC4 Mount and Dismount Key Set
- Materials
- Solar cable
- MC connector
2 – MC4 Connector Parts
There are five parts to an MC4 connector which you need to know about before you learn how to install solar wire connectors:
- End cap
- Strain relief
- Rubber water seal
- Main house
- Metal crimp contact
In order for you to understand how to connect solar connectors, we have to explain how the Female version uses a different housing and metal crimp contact, but other parts are the same. This is important to know when you’re learning how to connect solar cables.
3 – Male and Female MC4 Connector
This terminology refers to the crimp terminals inside the plastic housing, not the physical part of the plugs. One plug has the small MALE pin and the other plug has the FEMALE barrel/receptacle.
4 – Strip the wire insulation
The maximum current and voltage that can be inserted into the MC4 connectors depend on the type of solar panel cables and connectors used.
Standard solar panel cables for sale in uae wire size ranges from 8 to 14 AWG, with an outer insulation diameter of 2.5 to 10 mm2. The current carrying capacities are as follows:
MC4 Size:
|
8 AWG (10.0mm2) |
50A |
|
10AWG (6.0mm2) |
43A |
|
12 AWG (4.0mm2) |
37A |
| 14 AWG (2.5mm2) |
22.5A |
Here I am using 12 AWG (4.0 mm2). The rated voltage of the cable is 1.5 kV (1500 V).
Strip the end of the wire insulation carefully using a wire stripper. Be careful not to damage or cut the conductor. If you want to learn how to connect solar panel wires, you should know the recommended wire stripping length is 10 to 15 mm.
5 – Crimp the Connector
Insert the bare wire into the crimp terminal first, then place the terminal into the dies of the crimp tool. The open ends of the terminal wing face up like the letter U. This part of the process is essential for knowing how to connect solar cables. Slowly tighten the crimping tool until one or two pawls clicks and the tool holds its position. The crimped terminals should look as shown in the image above.
6 – Insert the terminal into the main housing
Once you have crimped the wire to the terminal, you can insert the terminal into the main MC4 housing. Before inserting the terminal, insert the end cap, and then press the crimp terminal into the housing until you hear a click. The contact has a tab and once inserted cannot be removed.
7 – Tighten the End Cap
Hand-tighten the end cap into the main housing plug first, then finish the job with your MC4 wrench set. When the end cap is tightened, the inner rubber seal compresses around the outer jacket of the cable, thus providing a watertight seal.
The process of connecting female MC4 connectors is the same, but make sure you use the appropriate contact. Now your solar cables and connectors are ready to use, and you know how to connect solar cables.
8 – Lock the connectors
Push the two pairs of connectors together so that the two locking tabs on the MC4 female connector align with the two corresponding locking slots on the MC4 male connector. When the two connectors are mated, the locking tabs slide into the locking slots and are secure.
MC4 connectors allow panel strings to be easily built by pushing connectors from adjacent panels by hand, but require the MC4 wrench to disconnect to ensure they do not accidentally disconnect when wires are pulled.
9 – Unlock the connectors
To disassemble/unlock the two connectors, press the ends of the locking tabs to release the locking mechanism and separate the connectors. Sometimes it is very difficult to disassemble by hand, you will need an MC4 mount and dismount tool like the MC4 wrenches.
These are the tools used to snap the MC4s together. They are inexpensive and worth having, especially for disassembling terminals after they have been closed for a while.
Conclusion
There are so many MC4-compatible connectors available on the market. There are also many fake MC4 connectors. These connectors do not meet the same safety certifications and engineering standards as genuine MC4 connectors.
Connecting solar cables is a very easy job if you’re familiar with the general process of installing them. If you are interested in learning more about the MC4 connector and how to connect solar cables, contact our solar equipment shop.


